In general, vendors are the supplier of goods or services. Using WP Ever Accounting, you can keep track of vendors by simply making a list of them.
Add Vendors
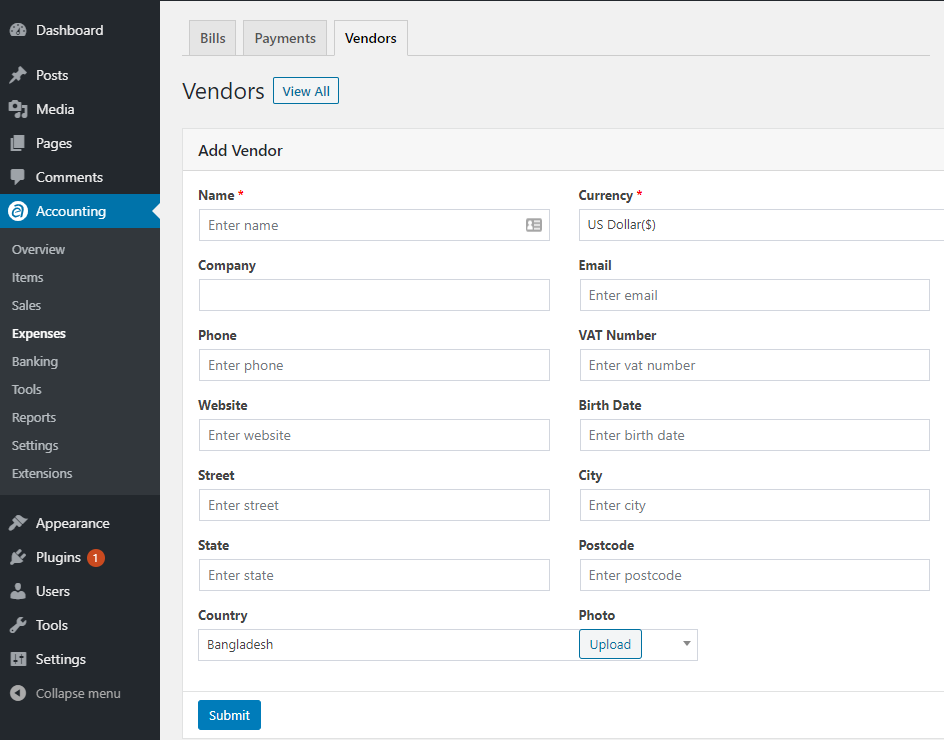
To add vendors, simply click on the Add New button which will take you to a new page.

From the page, you will see the available options required to add vendors. To add a customer, you need to fill in the following information –
| Field | Description |
|---|---|
| Name* | Holds the vendor’s name. |
| Currency* | This is the currency provided by the vendor. But the currency of a sales will not be affected by the currency of a vendor. |
| Email address of the vendor. | |
| Phone | Phone number provided by the vendor. |
| VAT Number | VAT number provided by the vendor. |
| Website | vendor’s Website URL. |
| Birth Date | Date of birth of the vendor. |
| Street | Name of the street of the vendor’s address |
| City | City address of the vendor. |
| State | Name of the State |
| Postcode | Postal code of the address from where the vendor belongs to |
| Country | vendor’s country name. |
| Photo | Photo of the vendor |
Vendors Listing Fields
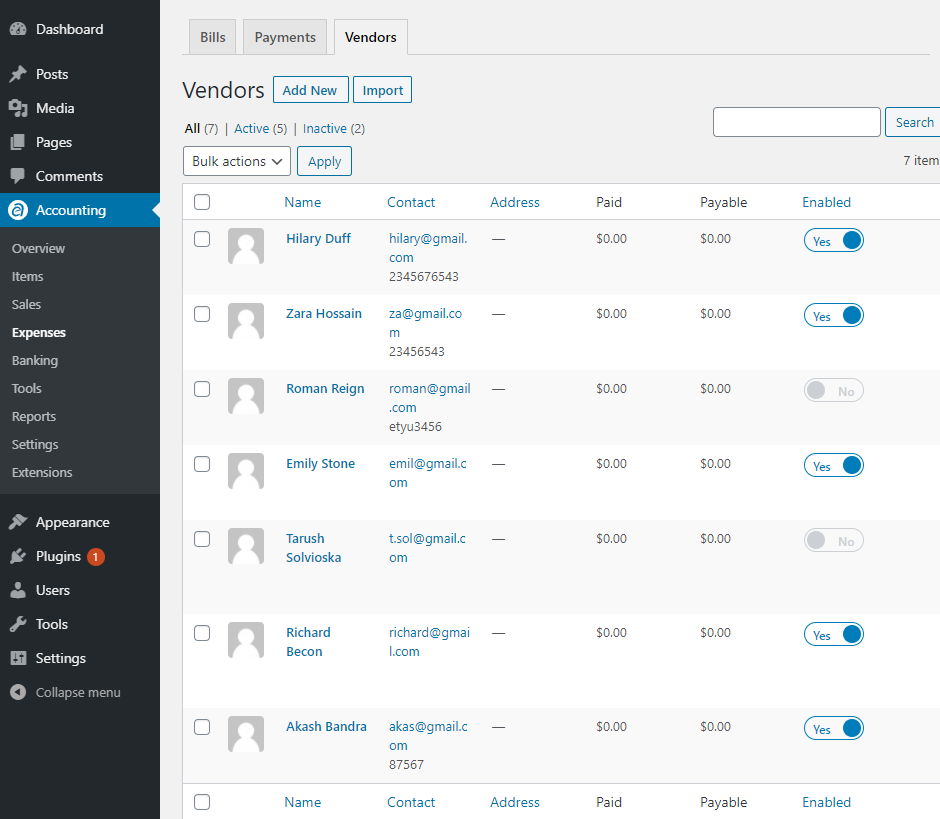
On the vendors listing, you will see a list of vendors with different fields relating to the vendors. To point out, the list shows fields for the vendors’ names, vendors’ emails, and phone numbers, vendors paid and receivable amount. Moreover, you can separately use the dedicated field to enable or disable vendors.

Vendors Profile
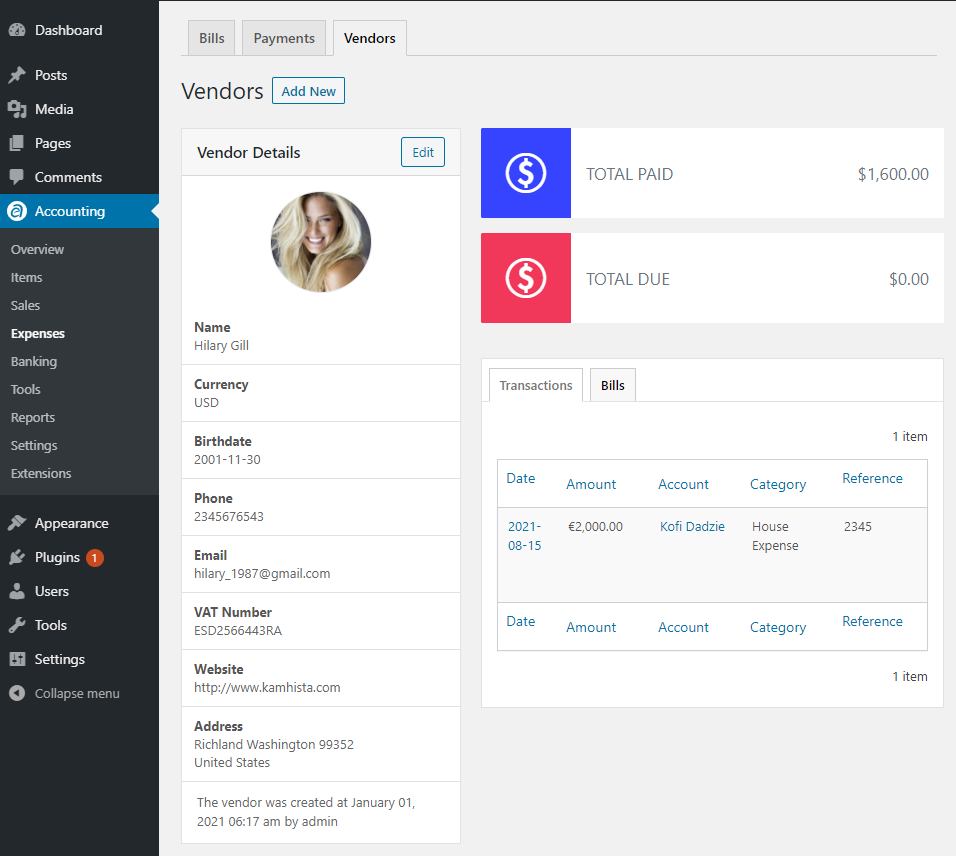
From the vendors’ list, you can view the profile of your customers individually. Simply hover over any Vendor’s name and click on View. By clicking on View, you will see the details of that vendor. You are able to see all the transactions that take place and bills created for the vendor. You will also see how much was paid and how much due is left to be paid. In case you need to edit the profile of the customer, you can do it too. To mention, Transactions and bills are listed separately in the vendor’s profile.
