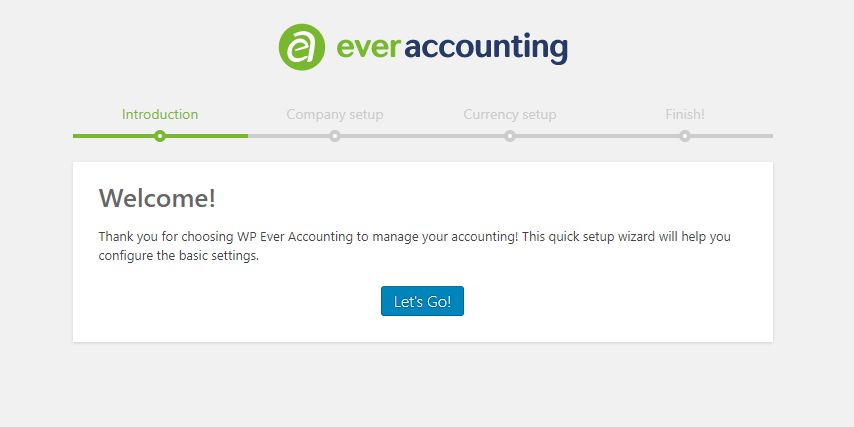
After installing and activating Ever accounting, you will be guided to a quick setup wizard. Click “Let’s Go” to configure the basic settings for your business effortlessly.

Company Quick Setup Wizard
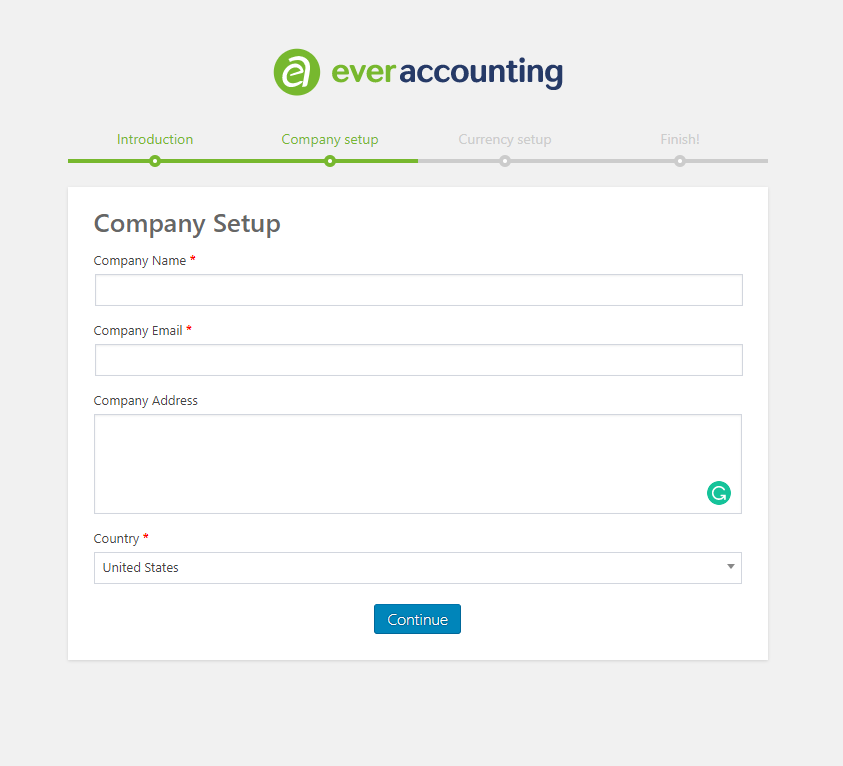
In the next step, you’ll be directed to the Company Setup page. Here, you can enter your company details, including both required and optional fields. Required fields include the company name, email address, address, and country. Additional optional fields can also be configured to complete your company profile.

Currency Quick Setup Wizard
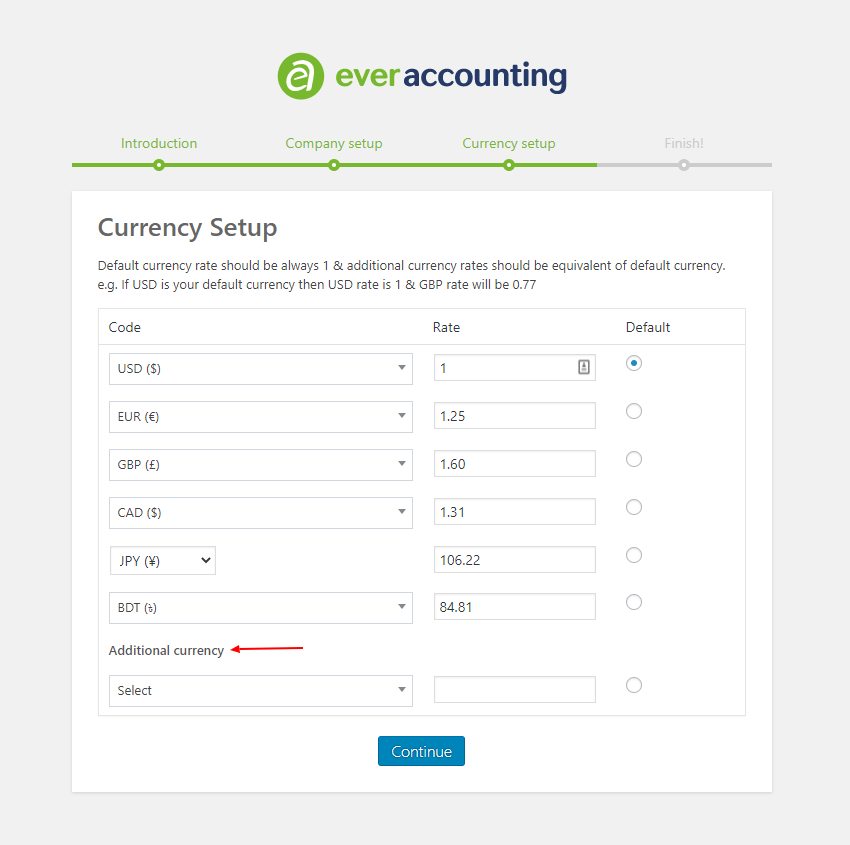
After entering your company details, the next step is to configure the Currency Setup. You will see a list of available currencies, from which you need to select one as the default currency for your company. All other currency rates will be calculated relative to the default currency. If you wish to add more currencies, simply select them from the Additional Currency section.

Finish
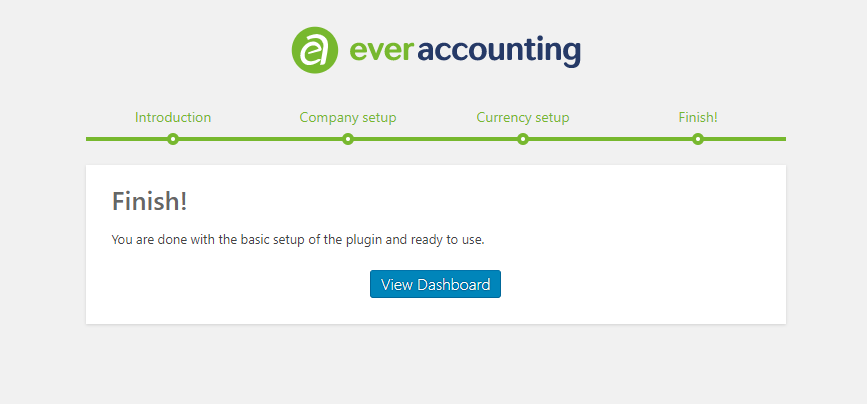
Once you’ve configured your default currency and added any additional currencies, the basic setup is complete. You are now ready to start using the plugin.
