Ever Accounting provides robust data export functionality, enabling users to efficiently extract and manage critical accounting data. This guide elaborates on exportable entities, the format of the exported data, use cases, and the steps for a successful export process.
General Steps to Export Data
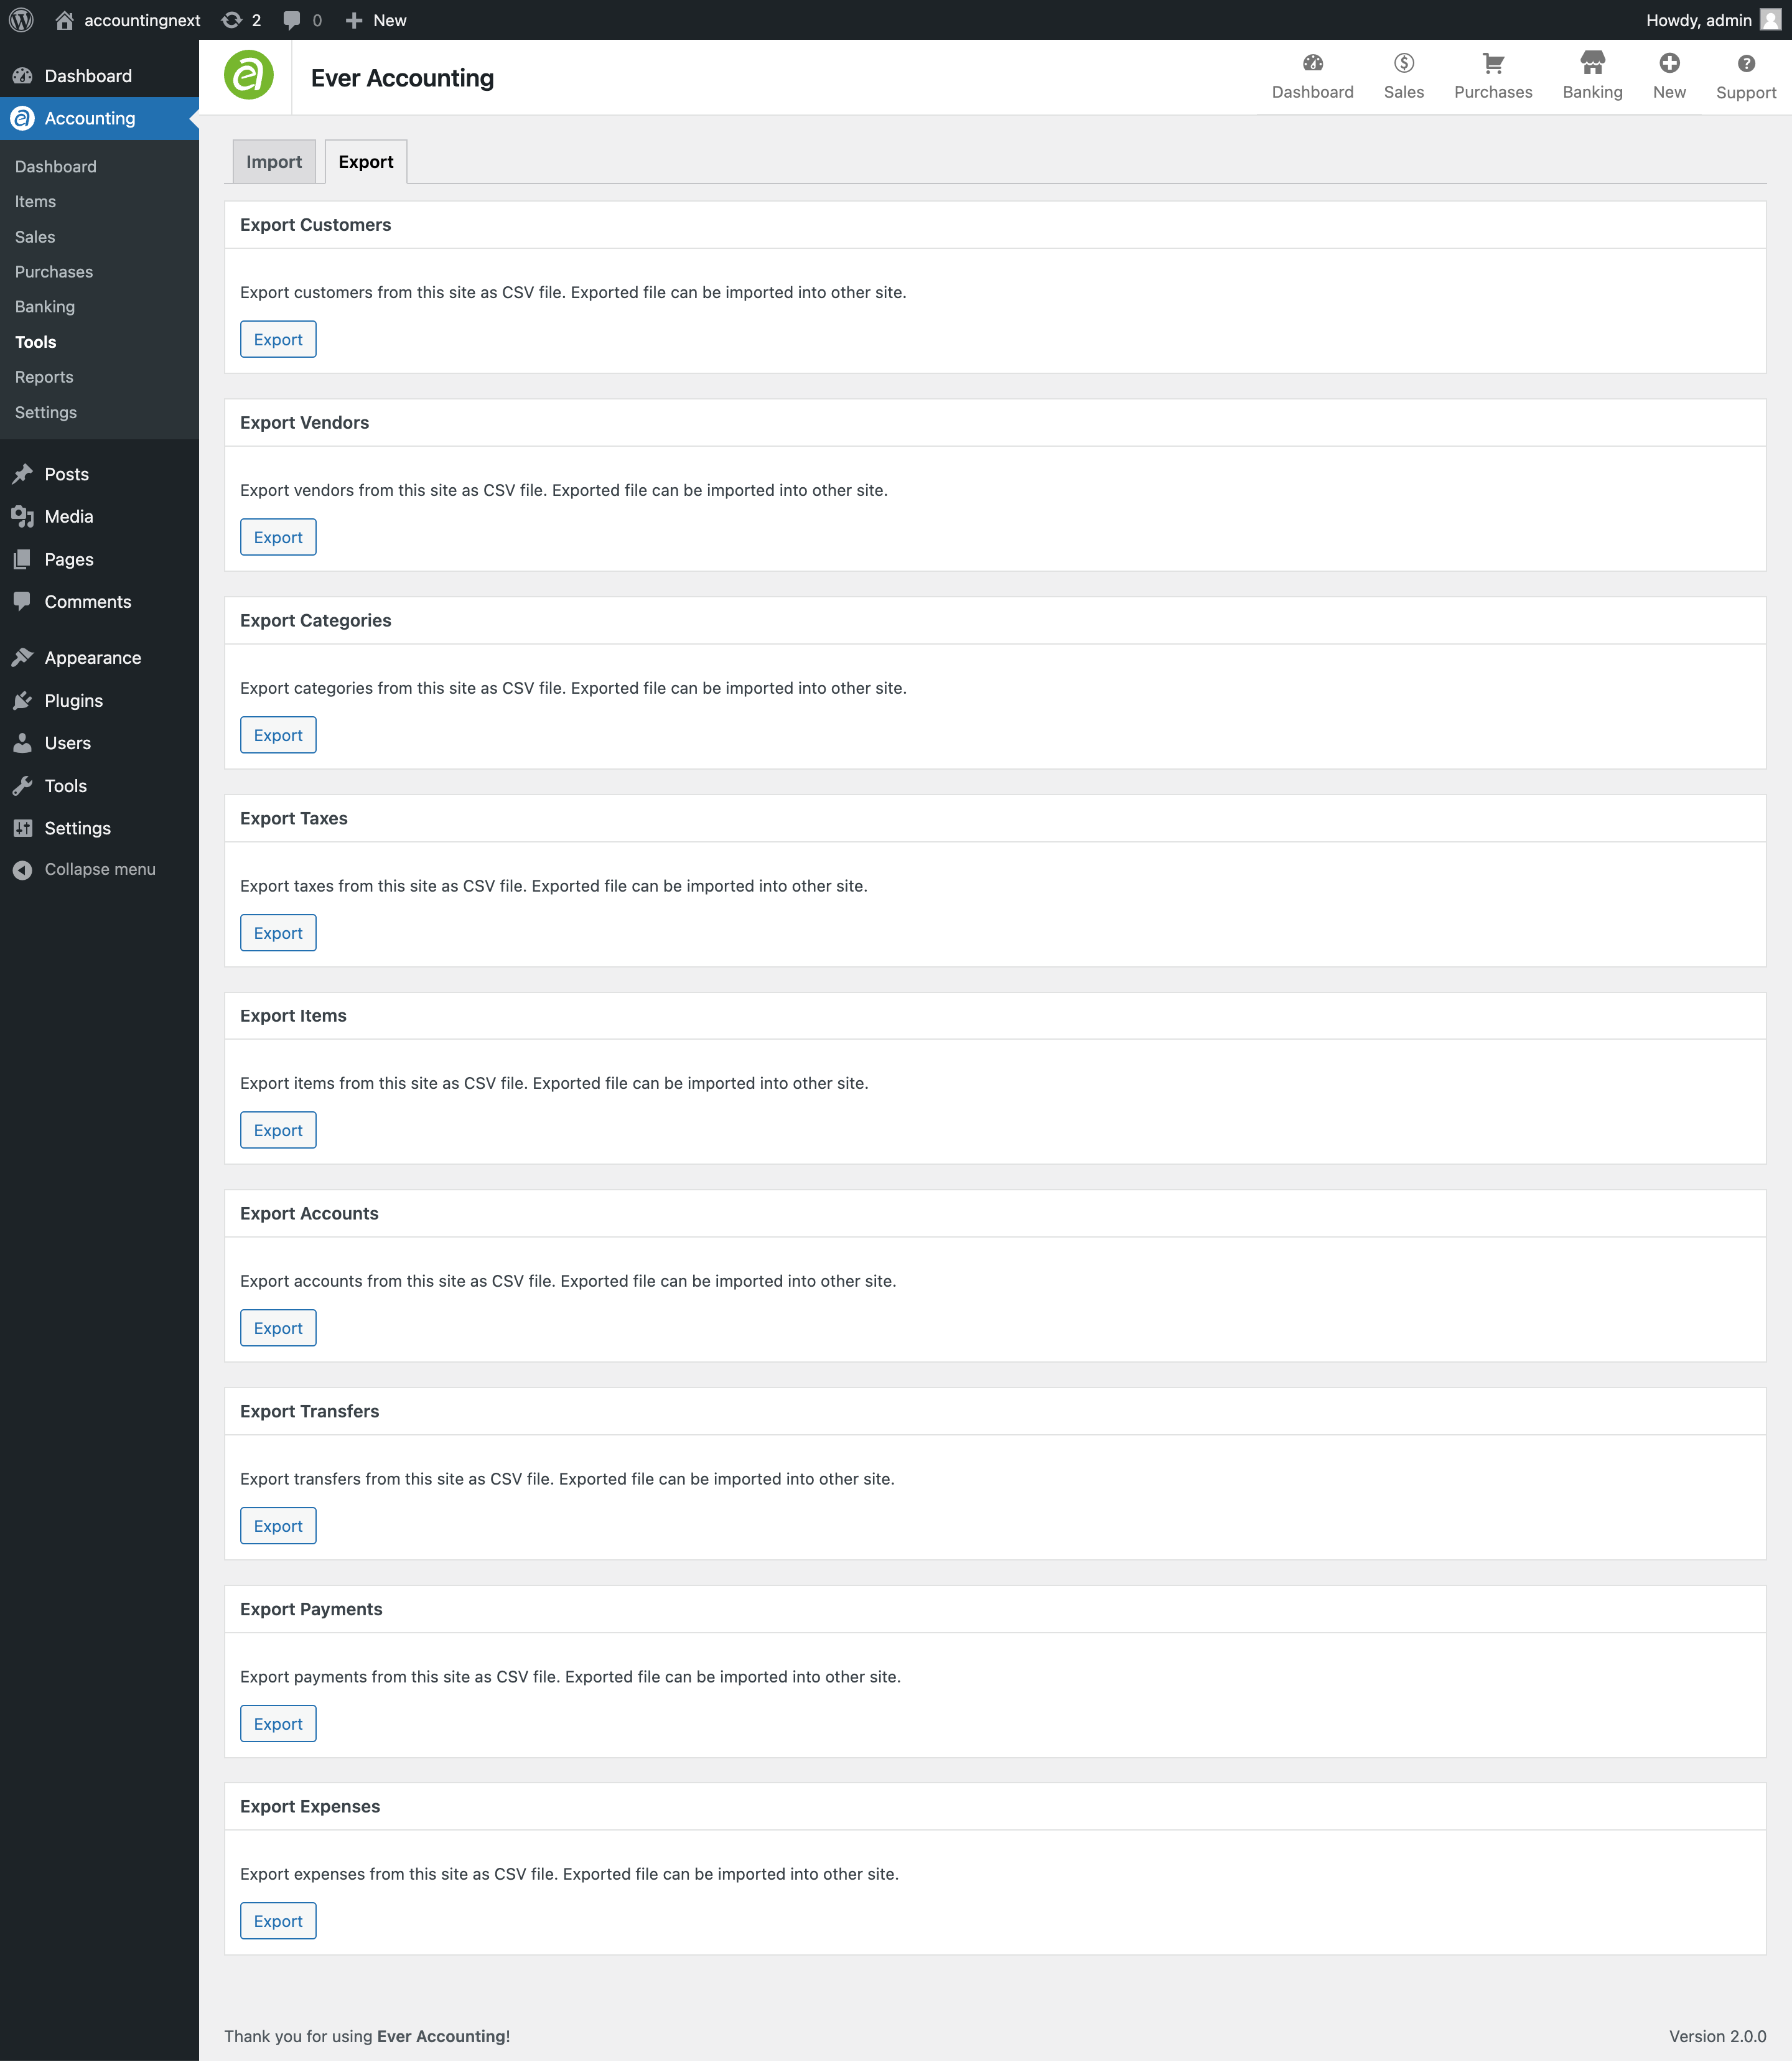
Exporting data is an intuitive process in Ever Accounting.
- Access the Tools Section
Navigate to Accounting > Tools in the Ever Accounting dashboard.
The page will display options for both Import and Export. - Locate Export Options
Switch to the Export tab.
You will see a list of available entities for export, each with a dedicated Export button. - Export the Desired Entity
Click the Export button next to the specific entity (e.g., Customers, Vendors).
The system will generate a CSV file containing all relevant data and download it to your local device. - Open and Review Data
Open the downloaded CSV file in your preferred spreadsheet editor (e.g., Excel, Google Sheets) to review and process the data.
Exportable Entities
Customers
Customers represent individuals or organizations to whom products or services are sold.
- How to Export
Navigate to Tools > Export.
Locate the Customers section.
Click the Export button. - Exported Data Includes
Customer Name: Full name of the customer.
Contact Information: Email addresses, phone numbers.
Associated Metadata: Tax ID, associated categories, and custom fields.

Once you click Export, a CSV file containing all customer data will be downloaded. Below is a sample of the exported customer data:

Vendors
Vendors represent suppliers or organizations that provide goods or services.
How to Export
Navigate to Tools > Export.
In the Vendors section, click Export.
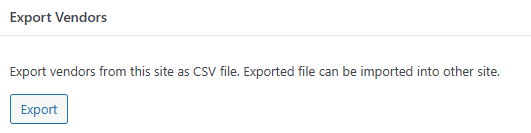
Once you click Export, a CSV file containing all vendor data will be downloaded. Below is a sample of the exported vendor data:

Categories
For better reporting and analysis, categories help organize transactions like payments, expenses, and items.
How to Export
Navigate to Tools > Export.
Locate the Categories section and click Export.
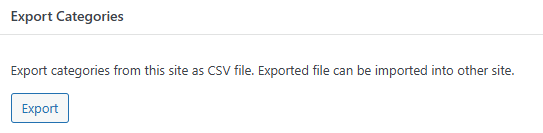
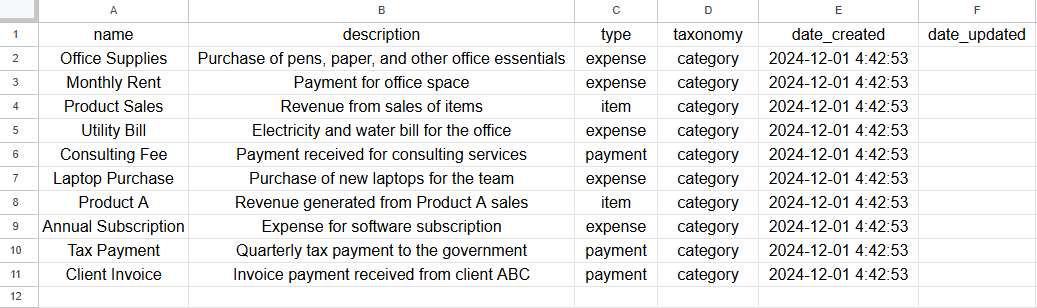
Once you click Export, a CSV file containing all category data will be downloaded. Below is a sample of the exported category data:
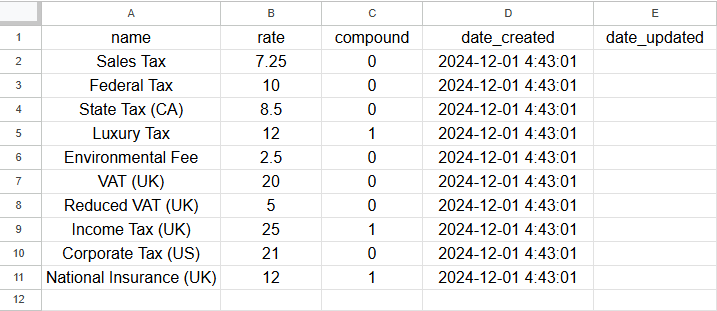
Taxes
Taxes are crucial for compliance and financial accuracy.
How to Export
Navigate to Tools > Export.
Select the Taxes section and click Export.

Once you click Export, a CSV file containing all tax data will be downloaded. Below is a sample of the exported tax data:
Items
Items represent products or services that you sell or purchase.
How to Export
Navigate to Tools > Export.
Click the Export button in the Items section.

Once you click Export, a CSV file containing all item data will be downloaded. Below is a sample of the exported item data:

Accounts
Accounts represent the financial institutions and balances managed within the system.
How to Export
Navigate to Tools > Export.
In the Accounts section, click Export.
Once you click Export, a CSV file containing all account data will be downloaded. Below is a sample of the exported account data:

Transfers
Transfers track the movement of funds between accounts.
How to Export
Navigate to Tools > Export.
Click the Export button under the Transfers section.
Once you click Export, a CSV file containing all transfer data will be downloaded. Below is a sample of the exported transfer data:
Payments
Payments detail the transactions where money is received or paid.
How to Export
Navigate to Tools > Export.
In the Payments field, click Export.
Once you click Export, a CSV file containing all payment data will be downloaded. Below is a sample of the exported payment data:

Expenses
Expenses represent the costs incurred for operations.
How to Export
Navigate to Tools > Export.
Locate the Expenses section and click Export.
Once you click Export, a CSV file containing all expense data will be downloaded. Below is a sample of the exported expense data:

Key Benefits of Data Export
- Data Backup and Recovery
Regular exports ensure your data is safe and retrievable in case of technical issues. - System Integration
Exported CSV files can be imported into other accounting tools or systems, ensuring seamless integration. - Ease of Sharing
CSV format ensures compatibility for sharing with auditors, consultants, or stakeholders.
Final Notes
- Regularly review and update your data before exporting.
- Ensure all exported data is securely stored and only shared with authorized personnel.
- For any issues during the export process, consult Ever Accounting’s support team or documentation.