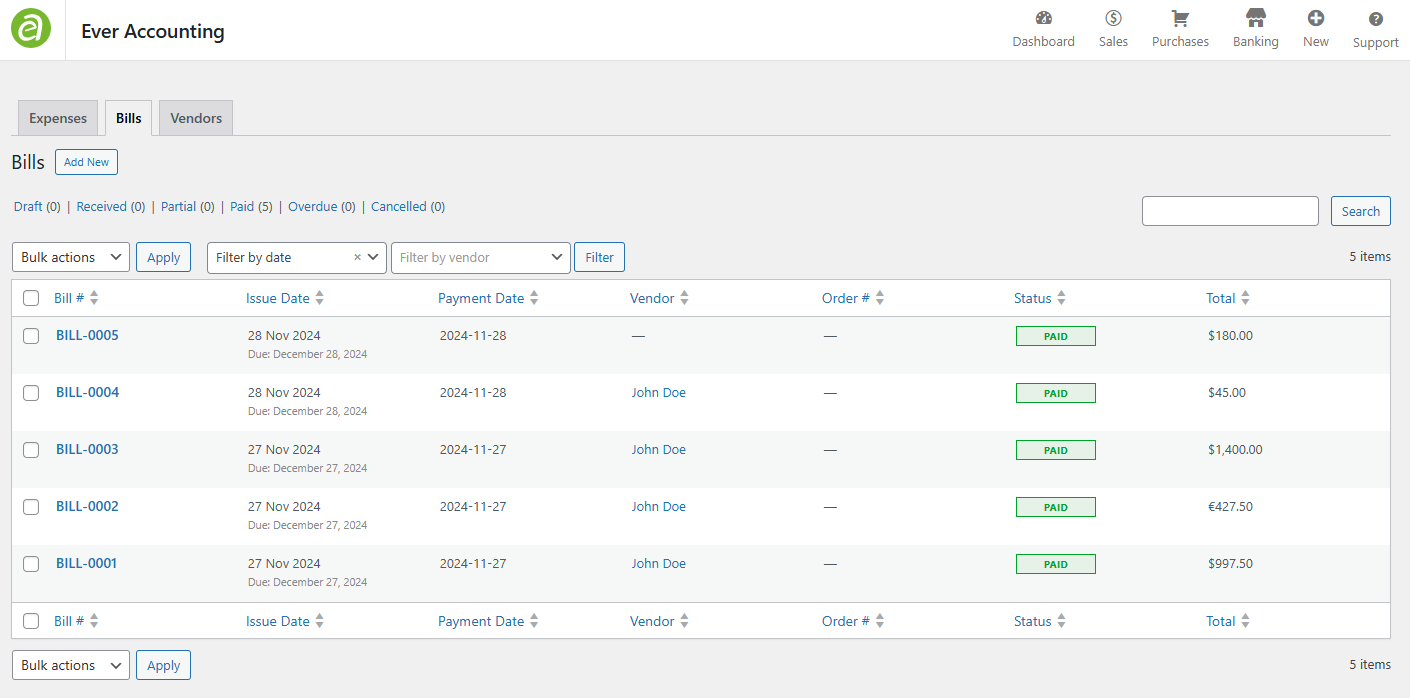
Bills are essential for maintaining records of expenses and helping track purchased goods, purchase dates, and total expenditures. Taxes, discounts, and other adjustments can also be included in bills. Ever Accounting simplifies expense tracking by enabling the efficient creation and management of bills.
Step-by-Step Guide to Adding Bills
Follow these steps to add bills in Ever Accounting:
Navigate to the Bills Section
- From the Accounting menu, go to Purchases > Bills.
- This will open the Bills page.
Click the Add New Button
- On the Bills page, click the Add New button at the top left.
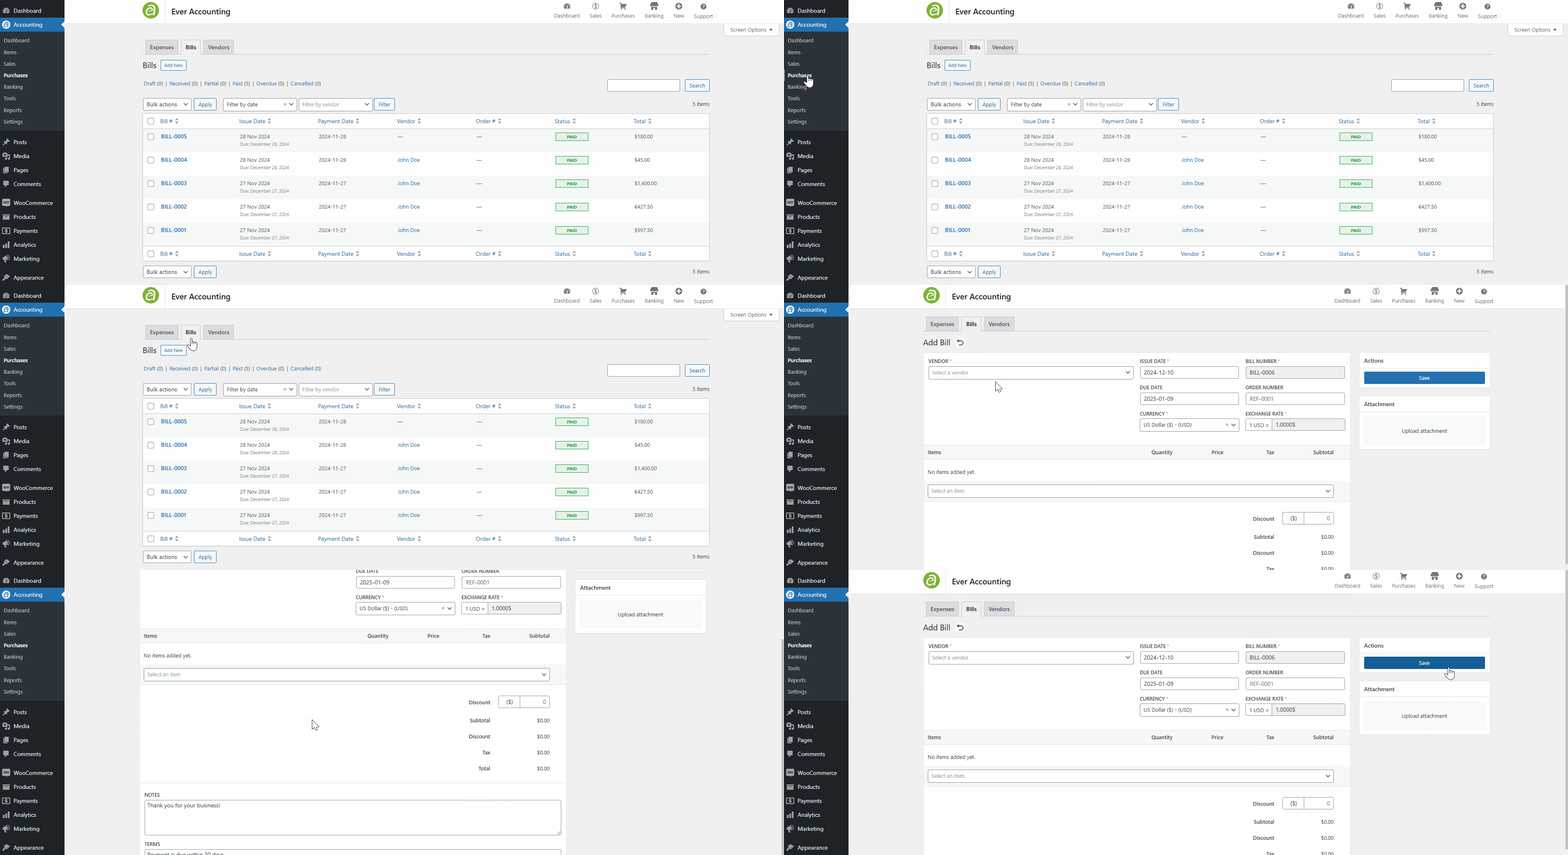
Fill in the Bill Details
Complete the following fields:
| Field | Description |
| Vendor* | Select the name of the vendor supplying the goods or services. |
| Issue Date* | Specify the date the bill is issued (default is the current date). |
| Due Date | Set the payment due date (default is 30 days from the issue date). |
| Currency* | Choose the currency for the bill (default is your system’s primary currency). |
| Bill Number* | A unique identifier is automatically generated based on your predefined settings. |
| Order Number | An optional unique identifier for the purchase or order. |
| Exchange Rate* | Specify the exchange rate for currency conversion, if applicable. |
Fields marked with an asterisk (*) are mandatory and must be completed to save the bill.
Save the Bill
- Once all required fields and items are added, review the bill for accuracy.
- Click Save to finalize and submit the bill for processing.
Adding items to Bills
Items define the total cost of the bill. Follow these steps:
- For each item, specify the following attributes:
- Click Add Item to select items from the drop-down menu.
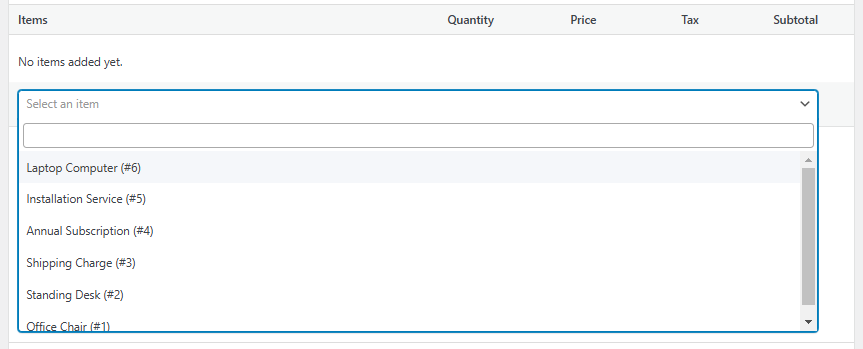
An item consists of the following attributes:
Item Name
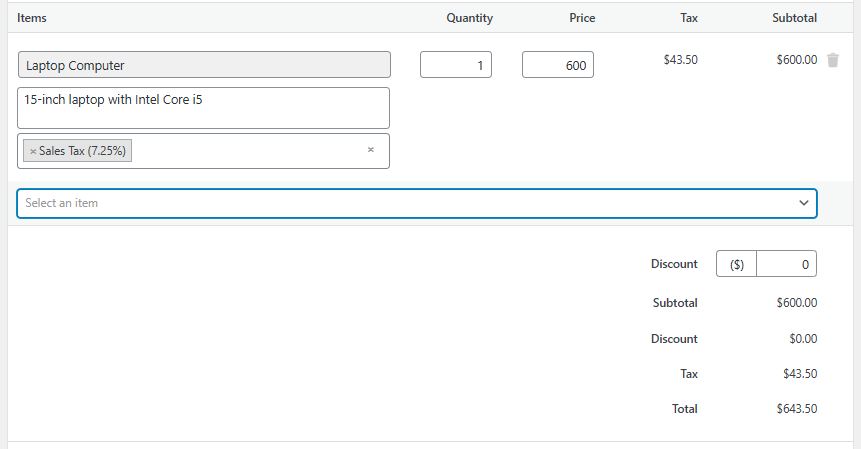
The item name represents the item’s name and automatically populates the description and tax fields if they were set previously when adding the item.
Quantity
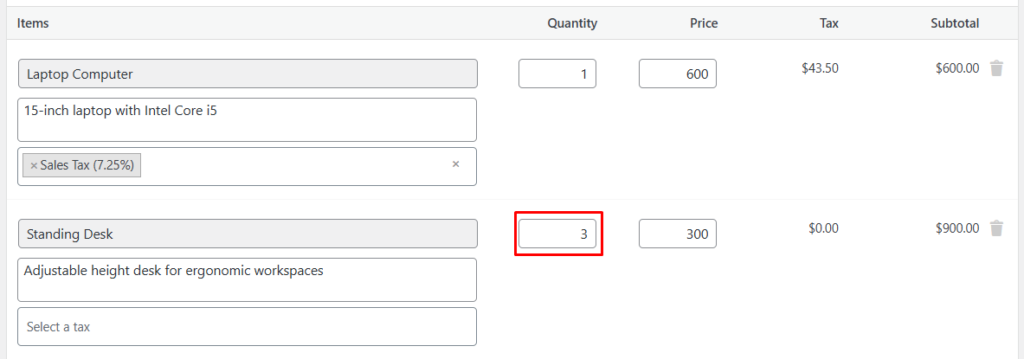
This field represents the number of items. Adjusting the quantity will increase or decrease the subtotal accordingly.
Price
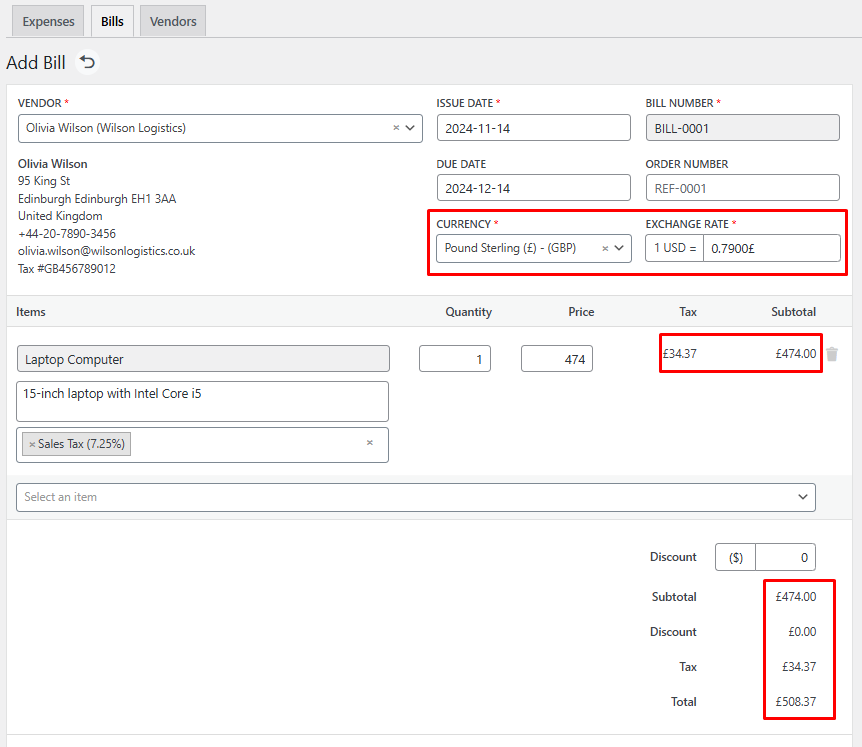
This field displays the unit price of the item. The currency of the item will depend on the selected currency. For example, if the default currency is set to USD, but GBP is chosen when creating an estimate, the price will be converted to GBP when adding items. The total amount will also be calculated using the selected currency.
Tax
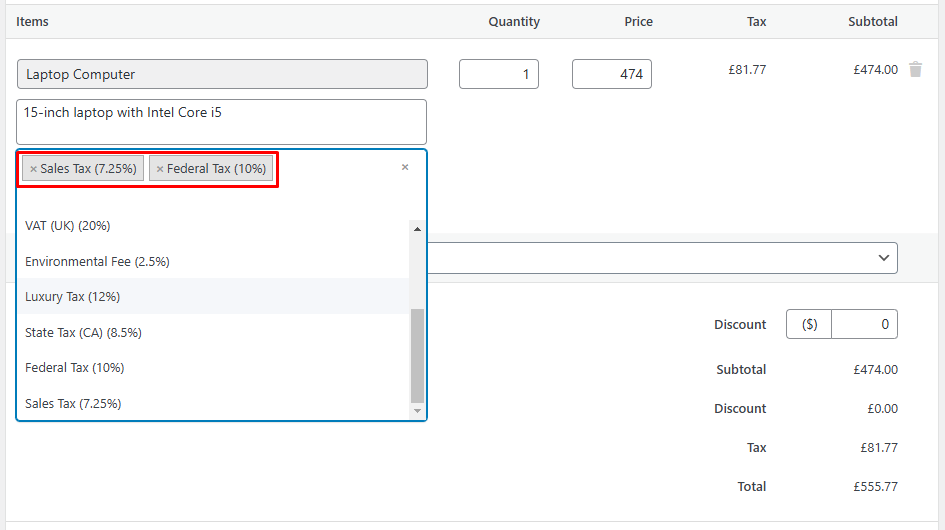
This field displays the tax applied to the items, which can include multiple tax rates. The tax rate must be pre-defined, and enabling tax rates and calculations in the Settings > Taxes section will activate the display and calculation of taxes.
Discount
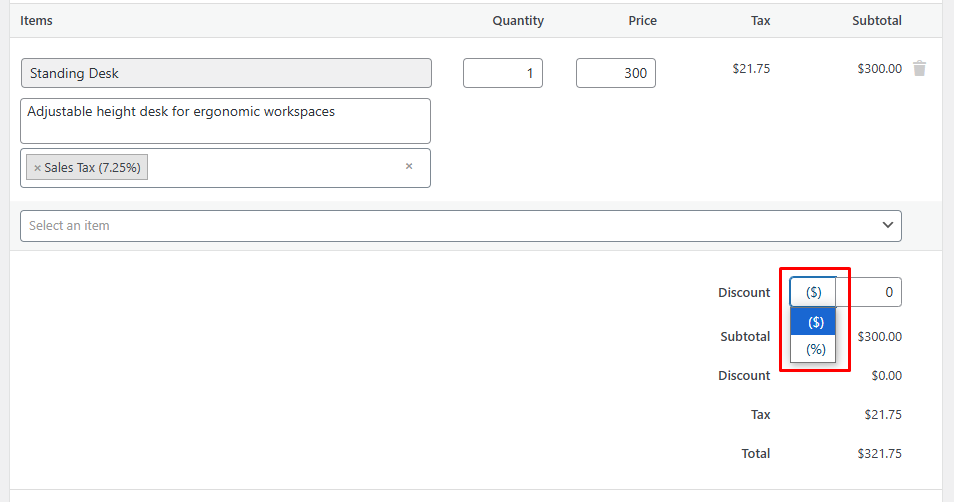
Discounts can be applied in two ways: Fixed ($) or Percentage (%). If Fixed is selected, the discount amount will be a set value. If a Percentage is selected, the discount will be calculated based on the chosen percentage.
Managing Bills
Bills Listing: View all bills under Purchases > Bills. Each entry shows:
- Bill Number
- Issue Date
- Payment Date
- Vendor Name
- Order
- Total Amount
- Payment Status (Paid, Unpaid, Overdue, Cancelled)
