Vendors are suppliers of goods or services that your business relies on. Ever Accounting provides a streamlined way to manage and track vendors by creating detailed profiles for efficient record-keeping and reporting.
Step-by-Step Guide to Adding Vendors
Follow these steps to add vendors in Ever Accounting:
Navigate to the Vendors Section
- From the Accounting menu, go to Purchases > Vendors.
- This will open the Vendors page.
Click the Add New Button
On the Vendors page, click the Add New button at the top left.
Fill in Vendor Details
Provide the following information for each vendor:
| Field | Description |
| Name* | The full name of the vendor. |
| Currency* | The currency associated with the vendor (does not affect transaction currency). |
| The vendor’s email address. | |
| Phone | The vendor’s phone number. |
| Company | The name of the vendor’s company. |
| Website | The vendor’s website URL. |
| Tax Number | The vendor’s tax identification number. |
| Address | The street address of the vendor. |
| City | The city of the vendor’s address. |
| State | The state or province of the vendor’s address. |
| Postcode | The postal code of the vendor’s address. |
| Country | The country where the vendor is located. |
Fields marked with an asterisk (*) are mandatory and must be completed to save the vendor profile.
Save the Vendor
- Once all necessary fields are filled, click the Add Vendor button to add the vendor.
- The vendor will now appear in the Vendors Listing.
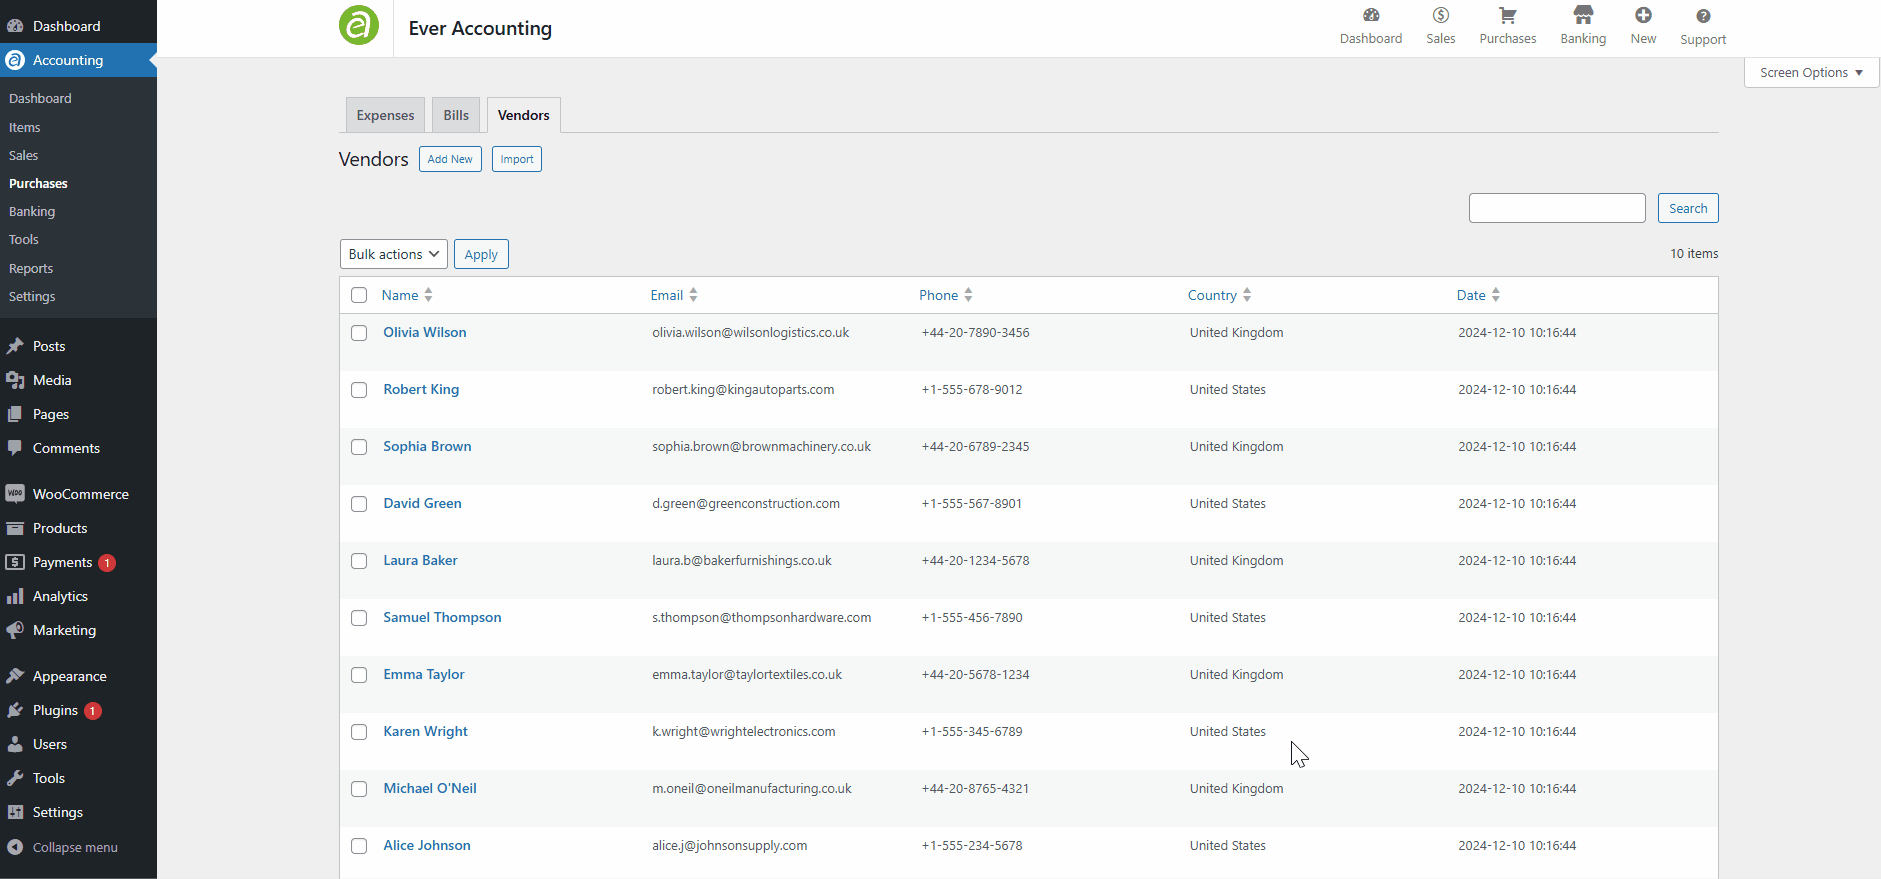
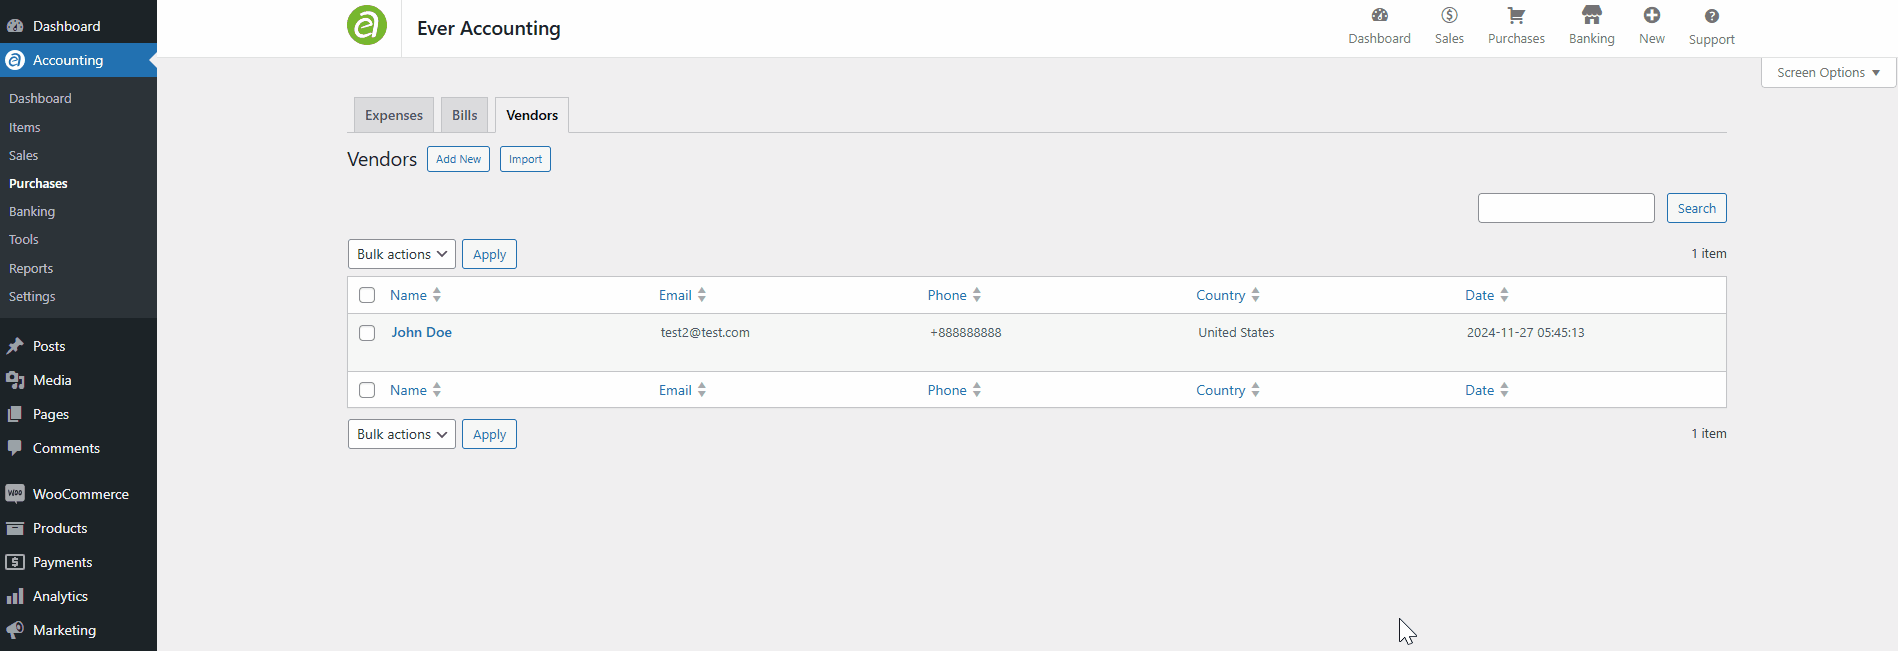
Vendors Listing – Overview
After creating a vendor, you can access the Vendors Listing under Purchases > Vendors. This list provides an overview of all vendors with key details such as:
- Name
- Phone
- Country
- Date

Manage Vendors from the Listing
- Edit: Click the Edit button next to a vendor to update their details.
- Delete: Use the Delete option to remove a vendor from the system.
Vendors Profile
Click on a vendor’s name in the listing to access their profile. The Vendor Profile provides a detailed view, including:
Vendor Information
Displays all fields provided during vendor creation, including address, contact details, and tax information.
Transaction Graph
A graphical representation of monthly transactions with the vendor, showing:
Payments made.
Outstanding balances.
Edit Vendor Profile
Update vendor details directly from the profile page by clicking the Edit button.
