With Ever Accounting’s Import Expenses feature, managing expense data is easier than ever. This tool, designed specifically for importing expenses in Ever Accounting, allows you to upload expense details in bulk using a CSV file, saving time and ensuring accuracy. Follow this step-by-step guide to get started.
What is the Import Expenses Feature?
The Import Expenses feature simplifies expense management by enabling you to upload multiple expenses at once. With a preformatted CSV file, you can easily add details like expense numbers, amounts, and categories without manual entry.
Step-by-Step Guide to Import Expenses
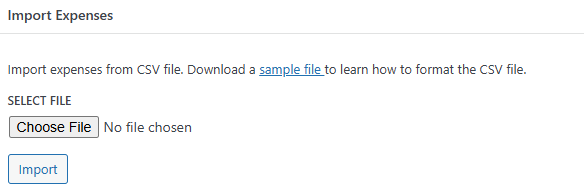
- Access the Tools Menu: Open the Tools menu in Ever Accounting, then select the Import tab. Go to the Import Expenses section.
- Download the Sample CSV File: Download the sample CSV file by clicking the sample file link.
- Format the CSV File Correctly: Open the sample CSV file and fill in the required and optional fields.
| Field | Description | Example |
| Expense Number* | A unique identifier for each expense. | EXP-000123 |
| Expense Date* | The date of the expense was created. | 2024-12-22 |
| Amount* | The total expense amount. | 100.00 |
| Currency | The Currency name with a three-letter code. | USD |
| Exchange Rate | The conversion rate between the base and selected currency. | 1.10 |
| Reference | A reference number for the expense (if applicable). | REF2024 |
| Note | Additional notes or remarks. | Office Supplies |
| Payment Method | The method used for payment. | Credit Card |
| Account ID* | The ID of the account where the expense is recorded. | 101 |
| Contact ID | The customer’s ID is associated with the expense. | 200 |
| Category ID | The category to which the expense belongs. | 5 |
| Attachment ID | Option to attach files (supported formats: JPG, PNG). | Receipt2024.png |
| Editable | Indicates if expense details can be modified. | Yes |
- Ensure Required Fields are Completed: Required fields are mandatory. Missing these fields will prevent the system from importing that customer.
- Upload the Completed CSV File:
Return to the Import Expenses section.
Upload the CSV file by selecting it from your device.

Fields marked with an asterisk are mandatory and must be completed for the initial save. If any required field is missing for an expense entry, that specific entry will not be imported.
Review the Import Results:
- After the import is complete, review the summary of imported expenses.
- Any errors or skipped entries will be highlighted for correction.
Download the Sample CSV File
To simplify the process, download the sample CSV file and use it as a template for your data.
Click here to download the sample CSV file for importing expenses.