Welcome to the WooCommerce Extension! This powerful integration helps you smoothly connect your WooCommerce store with Ever Accounting to keep your sales, orders, and customer data synchronized, saving you time and reducing manual work.
This guide will walk you through the essential steps to get started with the extension and ensure everything is properly configured.
What You’ll Need?
Before you begin, ensure the following:
- You have an active WooCommerce store set up and running.
- You have an Ever Accounting account.
Step 1: Download and Install the Extension
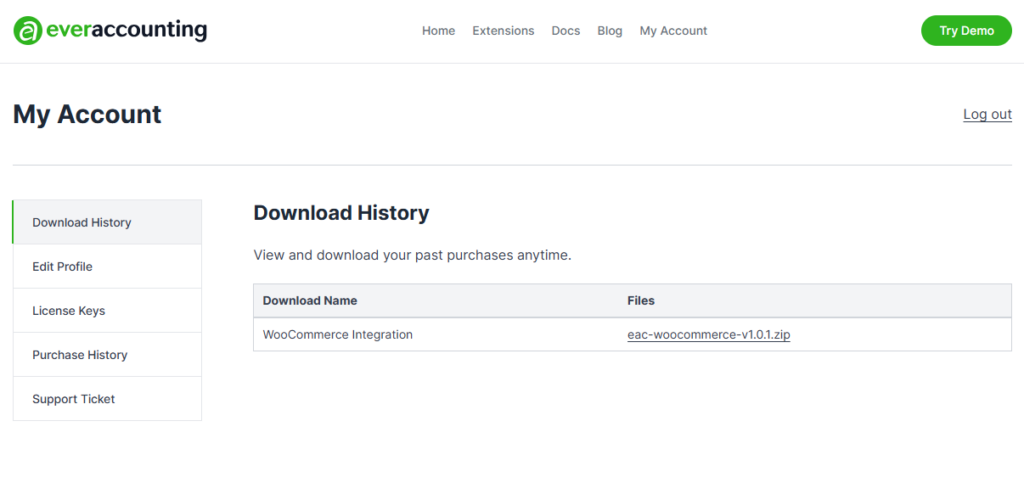
- Download Plugin File from Ever Accounting, My Account Page, Download History
- Log in to your WordPress Admin Dashboard.
- Navigate to Plugins > Add New.
- Upload the WooCommerce Extension’s
.zipfile. - Click Install Now, then Activate the plugin.
Step 2: Activate Your Extension License
Before you can start syncing your WooCommerce store with Ever Accounting, you must activate your extension license. This is a required step to unlock the integration features.
To activate your license:
- Log in to your WordPress Admin Dashboard.
- Navigate to Plugins> Ever Accounting – WooCommerce.
- Locate the WooCommerce extension from the list.
- Enter your license key in the field (provided after purchase).
- Once the license is validated, the extension will be enabled.

After successful activation, a new menu item will appear at:
Settings > Extensions > WooCommerce
This is where you can configure your integration preferences, map sales accounts, and manage sync options.
Step 3: Select an Account for Sales Recording
To ensure accurate financial reporting, you must link your WooCommerce sales to the correct account in Ever Accounting.
Read the full guide: Select an Account.
Note: Select an account with a currency that matches your WooCommerce store.
Step 4: Sync WooCommerce Orders
Once your account is linked and mapped, you can start syncing orders between WooCommerce and Ever Accounting.
Read the full guide: Sync Order
Sync Options:
- Manual Sync: Go to the Orders tab and click Sync With Accounting from Bulk Actions to push existing WooCommerce orders to Ever Accounting.
- Automatic Sync: Enable auto-sync to ensure all new WooCommerce orders are sent to Ever Accounting in real time.
Each synced order will create a corresponding transaction in Ever Accounting, including customer details, order total, and taxes (if applicable).